tech.jpg)

It took me a while..
This article has been a while in the making. When A1200.net announced their mechanical keyboard I pre-ordered it immediately. I do a lot of typing on the A1200 and an improved keyboard was something I definitely fancied. The old keyboard also still has the original International layout that I bought it with back in the 90-ies in the Netherlands. Now that I live in the UK this was also a good opportunity for me to change to a UK layout - just like all other keyboards I encounter. So I took 1200.net up on their early-bird offer for a half-price set of key-caps.
They announced that they were expecting to start shipping just before the end of 2025, which I was a bit dubious about. And indeed, the delivery date was moved forward a few times. This I was not worried about, I knew they would come up with the goods in the end anyway. And they did. Unfortunately by then I had changed jobs, so was a bit busy getting used to my new job. Then a hot Summer came, which made it too hot to sit in my study and take my 1200 apart.
But! Finally, I've found the time to mount the new keyboard into the old Amiga! This post will be a bit heavy on photographs and considerably lighter on text, but don't they say that a picture says more than a thousand words?
The package arrived
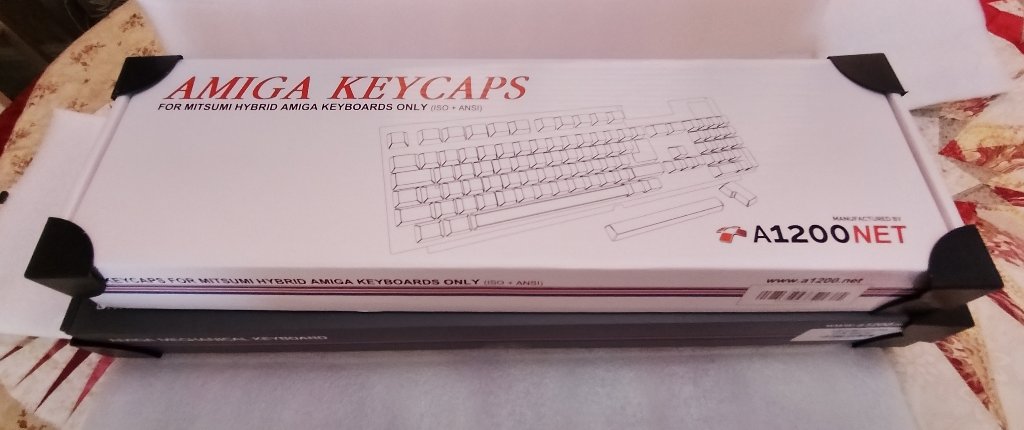
There were two boxes inside the sturdy shipping box, one with the mechanical keyboard and one with the keycaps. These boxes each had their corners protected by a black plastic protector and then the two boxes were wrapped in foam before being placed in the shipping box. The photo below shows the foam and the two boxes with their corner protectors still in place:
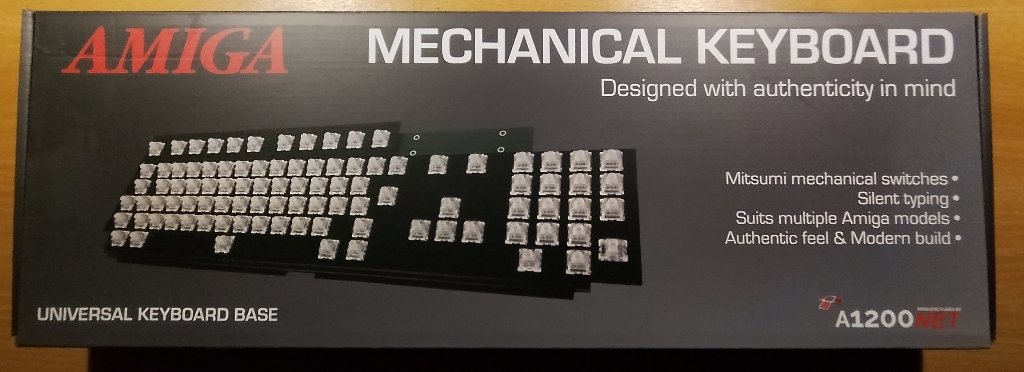
This is the box of the mechanical keyboard:
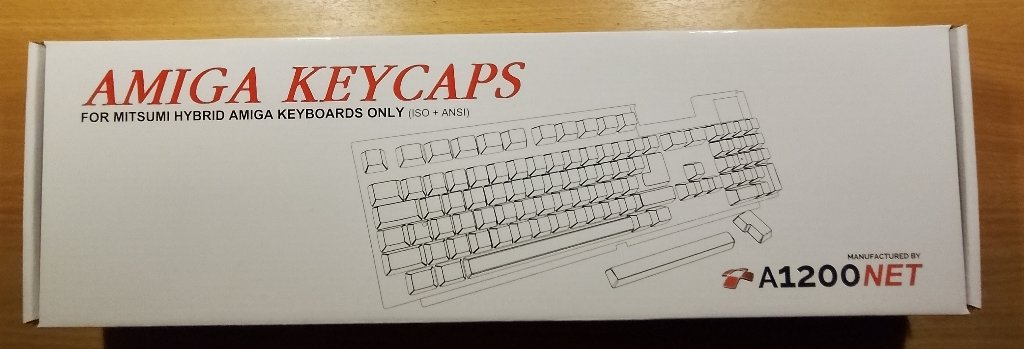
This is the box of the UK keycaps that I ordered with it:
Preparing the keyboard
Before taking the Amiga apart I spent some time installing the new keycaps on the mechanical keyboard. Unfortunately the beautiful packaging did not include a manual, or even a link or QR code to a manual on their website. This was a disappointment as installing keycaps is not something I've ever done, so some information would have been useful.
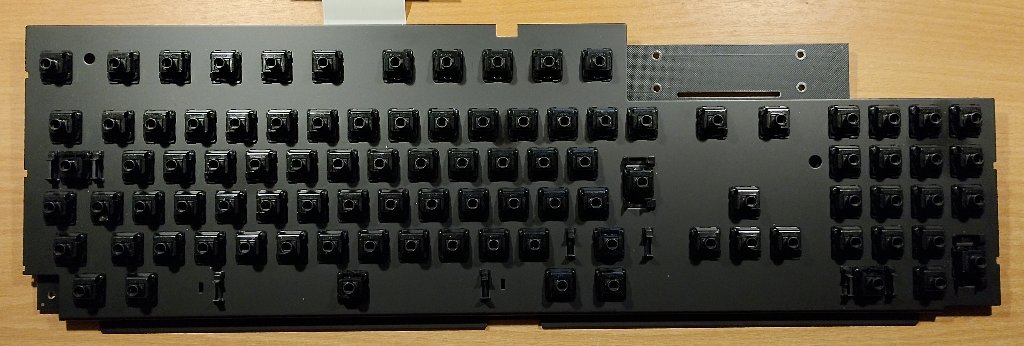
It took a bit of Internet searching, but luckily the information I required was not that difficult to find. Basically all the additional stuff in the keycaps box (springs, metal bars, bits of plastic) are only needed when changing the caps on an original (non-mechanical) Amiga keyboard. To mount these caps on the mechanical keyboard I only needed to use the gubbins that came in the mechanical keyboard box. During my search I read a recommendation to start with the bigger keys that need a metal bar first and then do the rest of the keys.
As a test I installed the cursor keys first, as these were not in the way of one of the bigger keys. Then I installed all metal bars and tried some of the bigger keys that use these metal bars. Where the bars go is pretty easy to see and each of the keys that use a bar also needs a bit of plastic inserted in the bottom. These plastic bits only fit one way, so that was easy as well. The space bar has slightly larger plastic bits (packed in a separate bag) that also fit only one way.
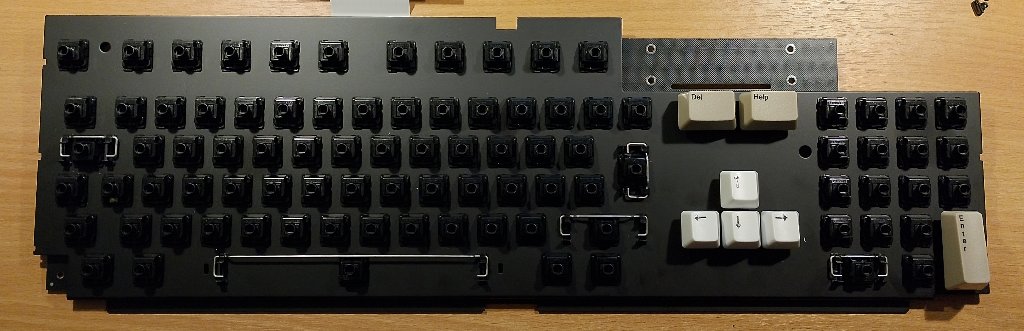
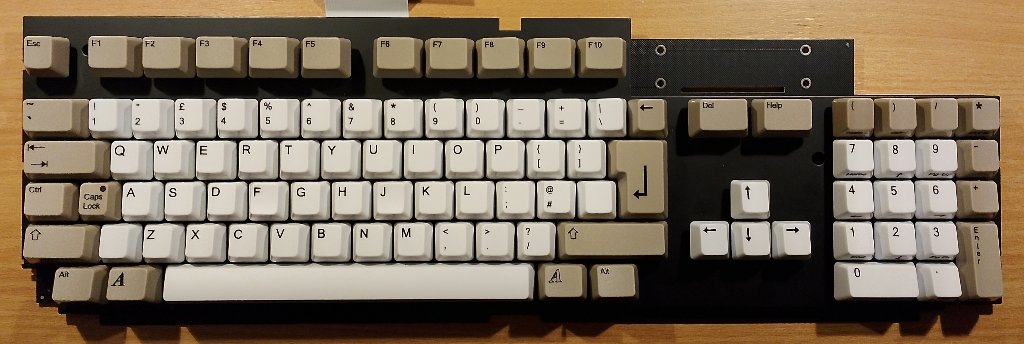
In the end it did not take me long to install all the keys. I took my time and enjoyed the process.
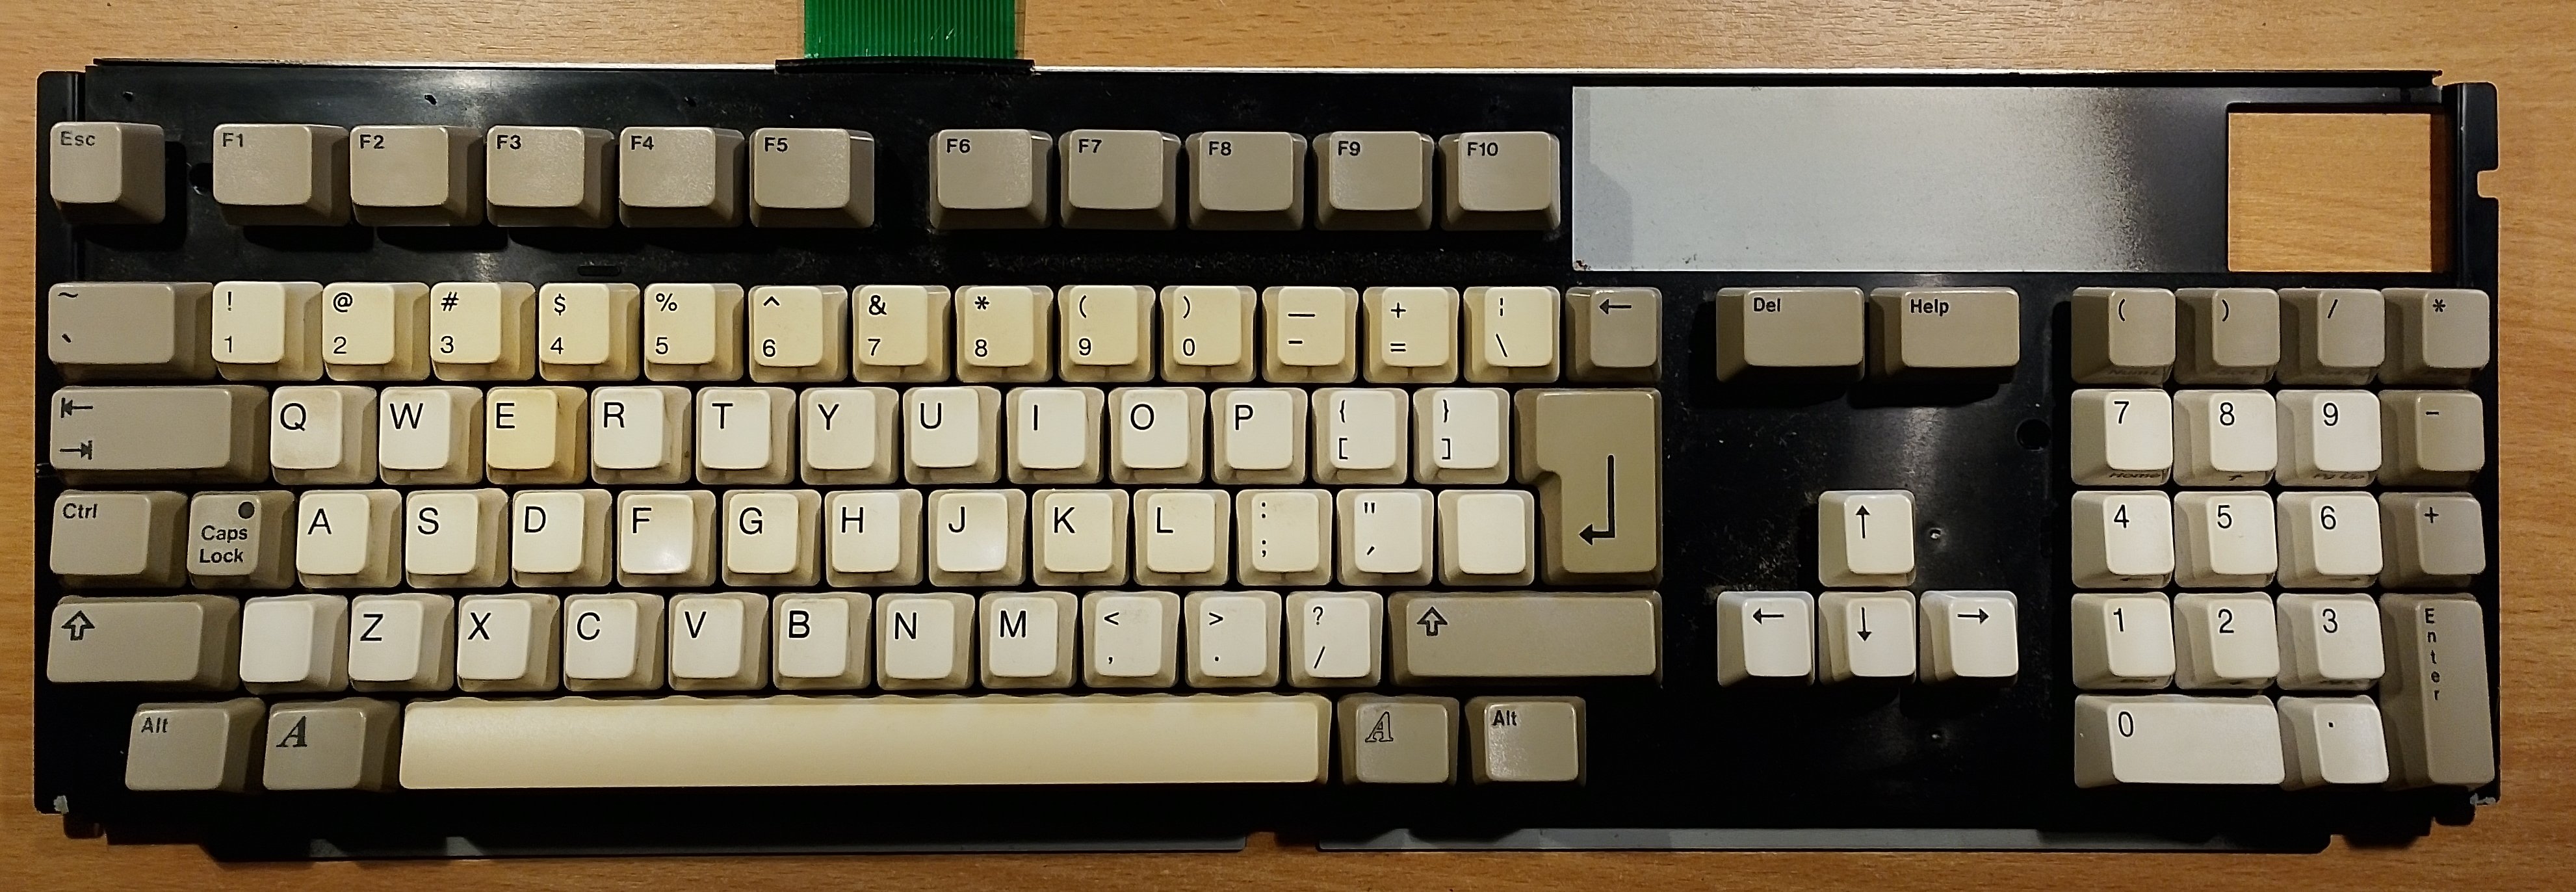
To compare here is a photo of my old (international) keyboard after I removed it from the system:
Installation
Then it was time to actually swap the keyboards out. The bottom of the mechanical keyboard has soldered legs poking through, so to prevent any electrical mishaps I put some think tape on the metal shielding that will be right below the keyboard:
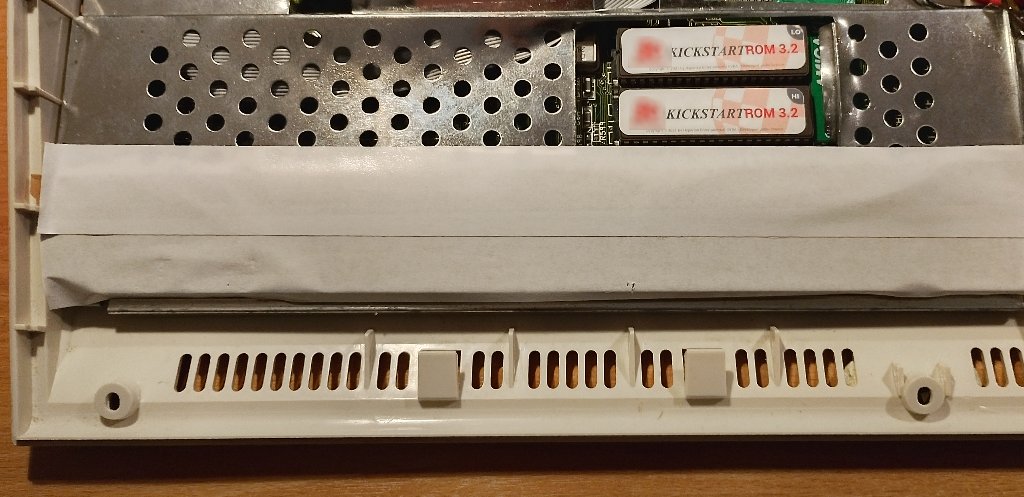
It needs a bit of persuasion for the bottom lip of the mechanical keyboard to go under those plastic tongues of which you can see two in the photo above. This may well be since the bottom of the case is quite sagging as back in the day I had a 3.5 inch HDD stuffed in there that bent the case a bit.
And here is the result with the keyboard in place and the case closed:
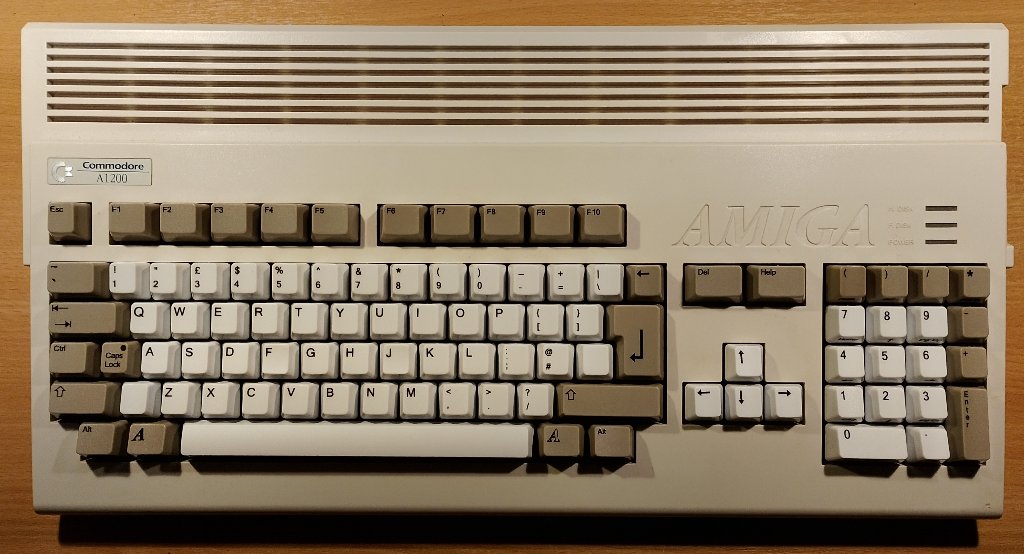
I'm quite chuffed with it - this is my original case and it has never had any retro-brighting done. And in case anybody asks - I went for white keys since all my modern systems have black keys. For me the fact that my Amiga has white keys and a cream mouse is important, mainly because all my other systems have black keys and black mice.
The pudding
As they say, the proof is in the eating - or obviously in this case in the typing. And I definitely love this new keyboard. Not that I ever disliked the original keyboard, but this mechanical keyboard is considerably nicer to type on. It sounds better as well - the old one always had a bit of a hollow plastic-y sound - this new one is quieter and sounds more solid.
Yes, this is definitely one where I'm very happy that I did it. Looking forward to use it for some serious writing!